Hosted
For quick access to Neurodesk on the cloud or HPC systems
Neurodesk offers several hosted options to suit different needs and computing environments. Whether you’re looking for a quick start or need high-performance computing capabilities, there’s a solution for you.
Available Hosted Options
1. Neurodesk Play
Best for: Quick testing, workshops, and light analysis
2. Neurodesk on HPC
Best for: Large-scale analyses and research projects
- Available on many institutional HPC systems
- High-performance computing capabilities
- Integrated with existing HPC infrastructure
- Contact your local HPC support to check availability
Available HPC Installations
We have documented installations at several institutions:
University of Queensland
- Bunya HPC
- Full integration with UQ’s research computing environment
University of Michigan
Other Institutions
- Many HPCs support Neurodesk through Singularity/Apptainer containers
- Check our HPC documentation for general setup instructions
- Work with your HPC administrators to enable Neurodesk support
3. Neurodesk Webapps
Best for: Fast browser-based image processing
Choosing the Right Option
Consider these factors when selecting a hosted solution:
Resource Requirements
- Data processing needs
- Storage requirements
- Computing power needed
Access Type
- Browser-based access
- SSH/Command-line access
- Integration with existing workflows
Cost Considerations
- Free options (Neurodesk Play)
- Institutional resources (HPC)
- Cloud hosting costs
Getting Support
Need help deciding which option is best for you?
Security and Data Privacy
All hosted options prioritize:
- Secure data handling
- User authentication
- Resource isolation
- Compliance with institutional policies
Choose the option that best aligns with your institutional requirements and data governance policies.
1 - Play
Neurodesk Play is a publicly available service for accessing Neurodesk without any setup
Neurodesk Play provides instant access to our neuroimaging analysis environment directly through your web browser. This service allows you to:
- Start using Neurodesk immediately without any installation.
- Access a wide range of pre-installed neuroimaging tools.
- Try out the platform before setting up a local installation.
- Collaborate with colleagues using a consistent environment.
Note: Neurodesk Play is free but comes with resource limits. For more intensive workloads, consider installing Neurodesk locally or using one of our other hosting options.
Launch Neurodesk Play
The tool below automatically detects the fastest server for your location. Click the Recommended card to start.
Data Transfer
We provide several methods to transfer your files in and out of Neurodesk Play, including drag-and-drop and cloud storage integration.
View Data Transfer Documentation →
Usage Acknowledgments
When using these services for research, please include the appropriate acknowledgment:
🇺🇸 US (Jetstream2 / NSF)
“This research was supported by Jetstream2 (NSF award #2005506), which is supported by the National Science Foundation. Jetstream2 is a cloud computing resource managed by the Indiana University Pervasive Technology Institute and part of the ACCESS project.”
🇪🇺 Europe (EGI / CESNET-MCC)
“Enabled through services and resources provided by the EGI Federation with the dedicated support of CESNET-MCC. Computational resources were provided by the e-INFRA CZ project (ID:90254), supported by the Ministry of Education, Youth and Sports of the Czech Republic.”
🇦🇺 Australia (ARDC / Nectar)
“This research was supported by use of the Nectar Research Cloud, a collaborative Australian research platform supported by the NCRIS-funded Australian Research Data Commons (ARDC).”
2 - Google Colab and Cloud Shell
Neurodesk Singularity Containers for Google Colab
Colab
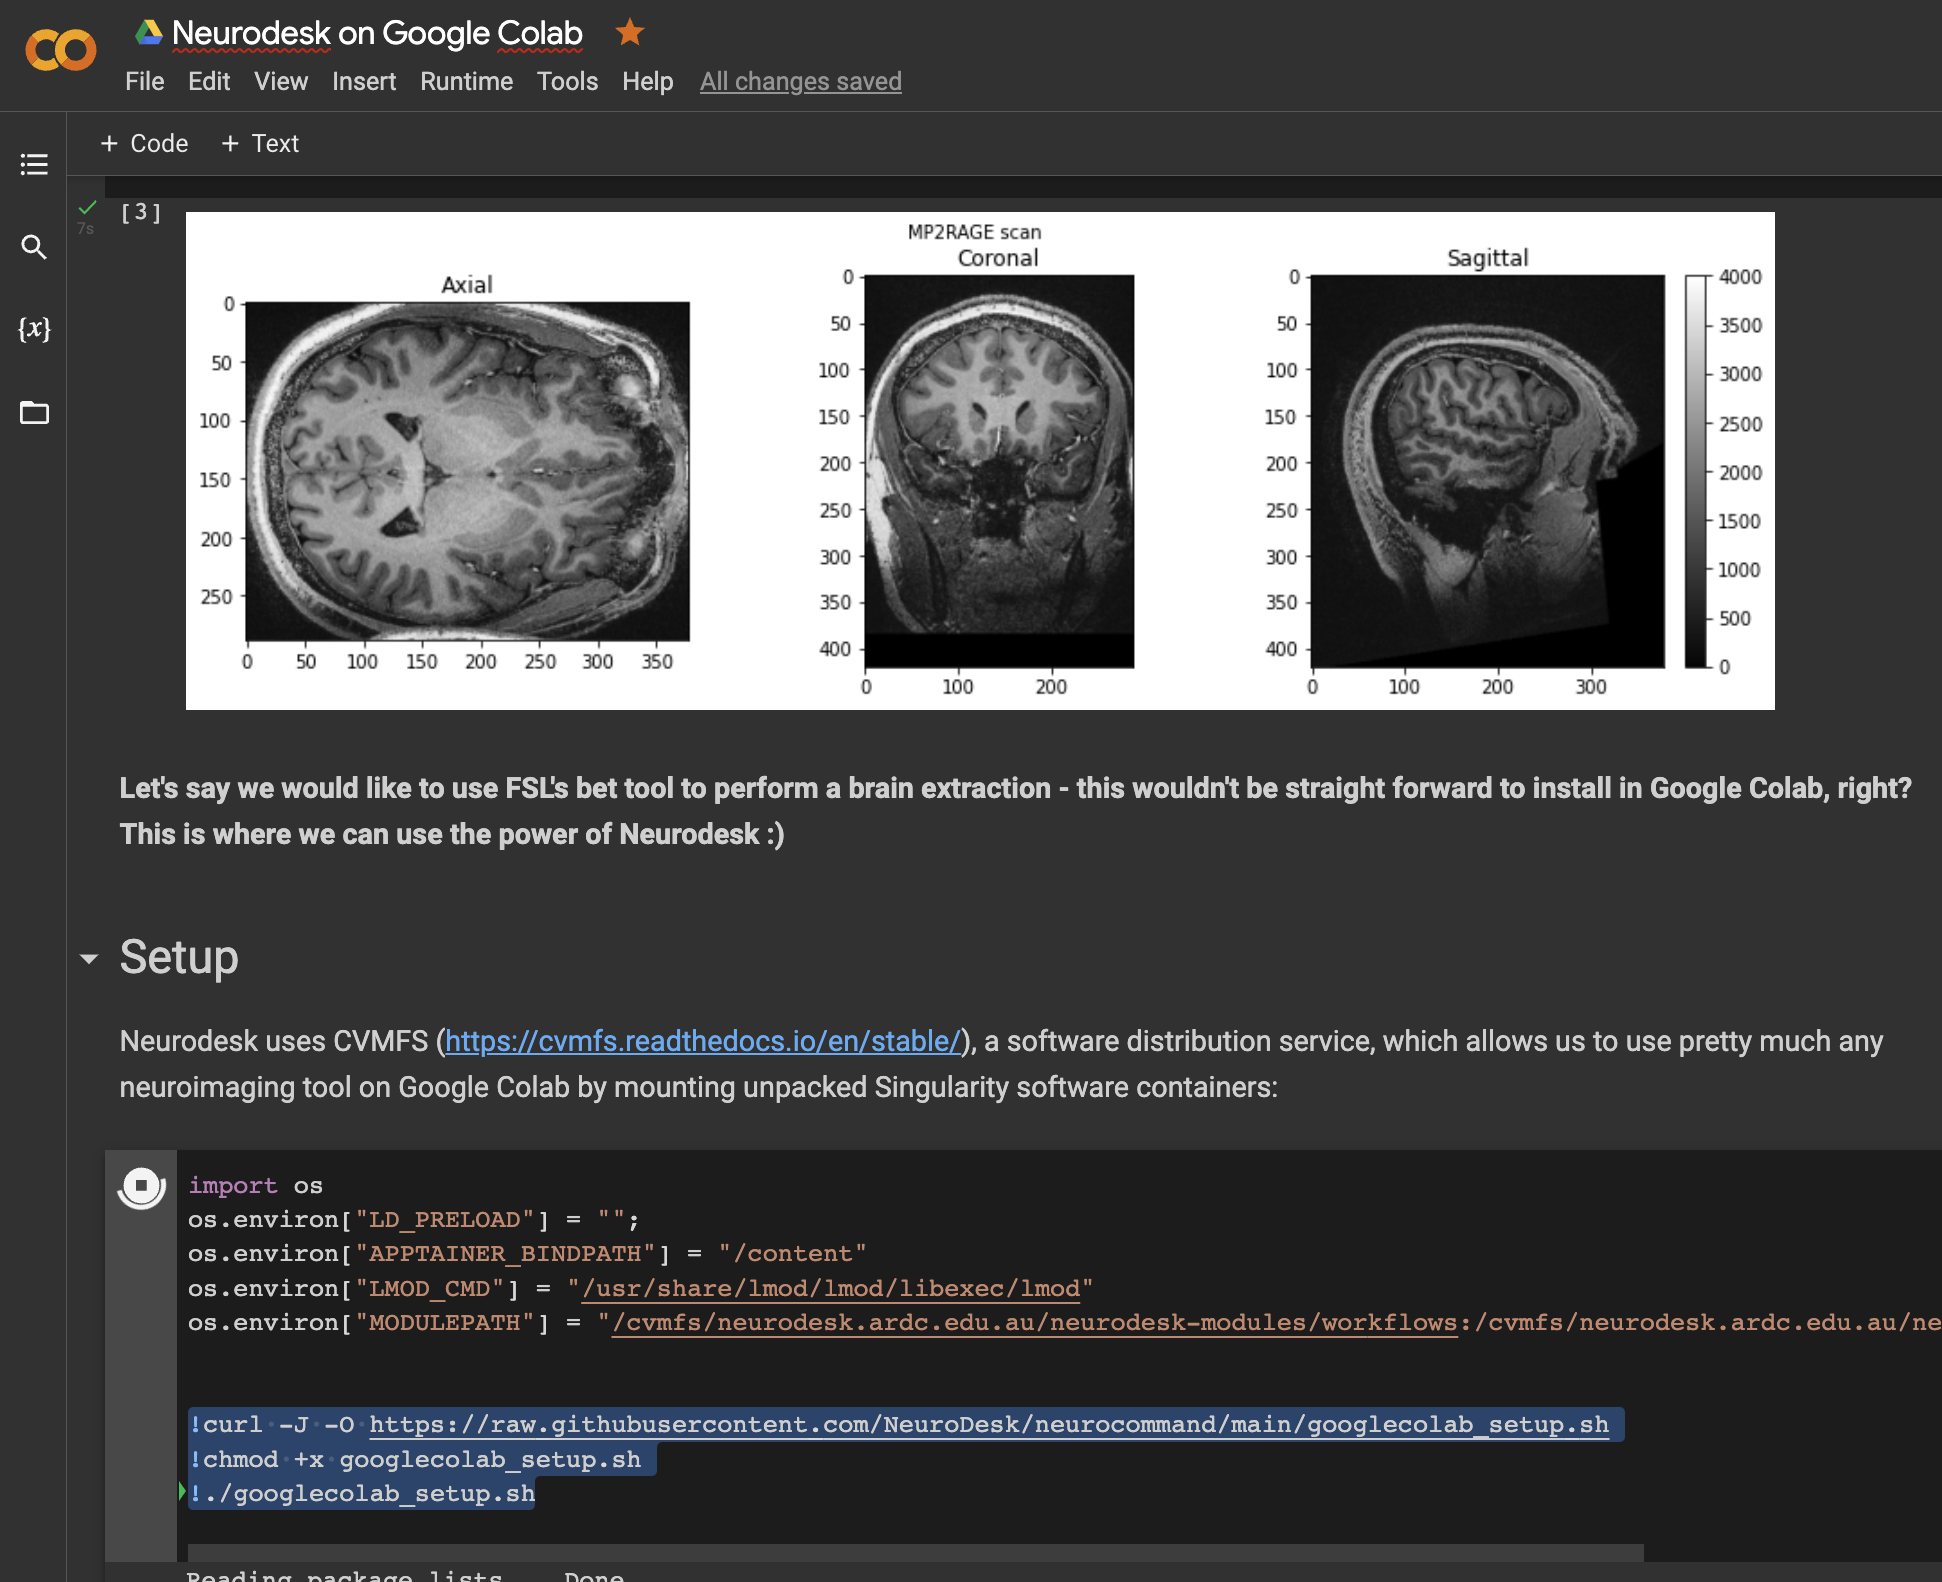
Open a notebook in Google Colab and run the following commands to set up the Neurodesk environment:
import os
os.environ["LD_PRELOAD"] = "";
os.environ["APPTAINER_BINDPATH"] = "/content"
os.environ["MPLCONFIGDIR"] = "/content/matplotlib-mpldir"
os.environ["LMOD_CMD"] = "/usr/share/lmod/lmod/libexec/lmod"

!curl -J -O https://raw.githubusercontent.com/neurodesk/neurocommand/main/googlecolab_setup.sh
!chmod +x googlecolab_setup.sh
!./googlecolab_setup.sh

os.environ["MODULEPATH"] = ':'.join(map(str, list(map(lambda x: os.path.join(os.path.abspath('/cvmfs/neurodesk.ardc.edu.au/neurodesk-modules/'), x),os.listdir('/cvmfs/neurodesk.ardc.edu.au/neurodesk-modules/')))))
Once this setup is completed, you can list the available Neurodesk applications like this:
import lmod
await lmod.avail()
and use applications like this:
await lmod.load('fsl/6.0.4')
!bet
This notebook demonstrates how to use all Neurodesk applications in Google Colab:
https://colab.research.google.com/drive/1g5cnZxj1llRaHmOs4xSglqsXnFkQYuol?usp=sharing
This is a google colab notebook that shows how to integrate with google drive and contains an example how to run fMRIprep in google colab:
https://colab.research.google.com/drive/11wVBkjNvrzo2TkUAILtWnPumAeFAfqkl?usp=sharing
and more examples can be found in our example library
Cloud Shell
This also works in a google cloud shell, e.g. for an interactive tutorial in google cloud cloudshell launch-tutorial:
First run this:
curl -J -O https://raw.githubusercontent.com/neurodesk/neurocommand/main/googlecloudshell_setup.sh
chmod +x googlecloudshell_setup.sh
./googlecloudshell_setup.sh
and then used in a tutorial.md:
# My First fsl Tutorial in cloudshell

## Step 1: Say Hello
Run the following command to print a message:

```bash
module use /cvmfs/neurodesk.ardc.edu.au/neurodesk-modules/*
ml fsl
bet
The tutorial can be started via:
cloudshell launch-tutorial tutorial.md
Or via a URL:
https://ssh.cloud.google.com/cloudshell/editor?cloudshell_git_repo=REPO_URL&cloudshell_tutorial=path/to/tutorial.md
where
cloudshell_git_repo: The URL of the Git repository to clone and
cloudshell_tutorial: The relative path to the markdown file inside that repo.
3 - Github Codespaces
Use Neurodesk on GitHub Codespaces
Start a GitHub Codespace in the repository of your choice:
Then start the neurodesktop container in a terminal:
docker volume create neurodesk-home &&
sudo docker run \
  --shm-size=1gb -it --security-opt apparmor=neurodeskapp --privileged --user=root --name neurodesktop \
  -v ~/neurodesktop-storage:/neurodesktop-storage \
  --mount source=neurodesk-home,target=/home/jovyan \
  -e NB_UID="$(id -u)" -e NB_GID="$(id -g)" \
  -p 8888:8888 \
  -e NEURODESKTOP_VERSION=2025-12-20 ghcr.io/neurodesk/neurodesktop/neurodesktop:2025-12-20
Then open Neurodesktop in the browser by clicking the “Open in Browser” Button displayed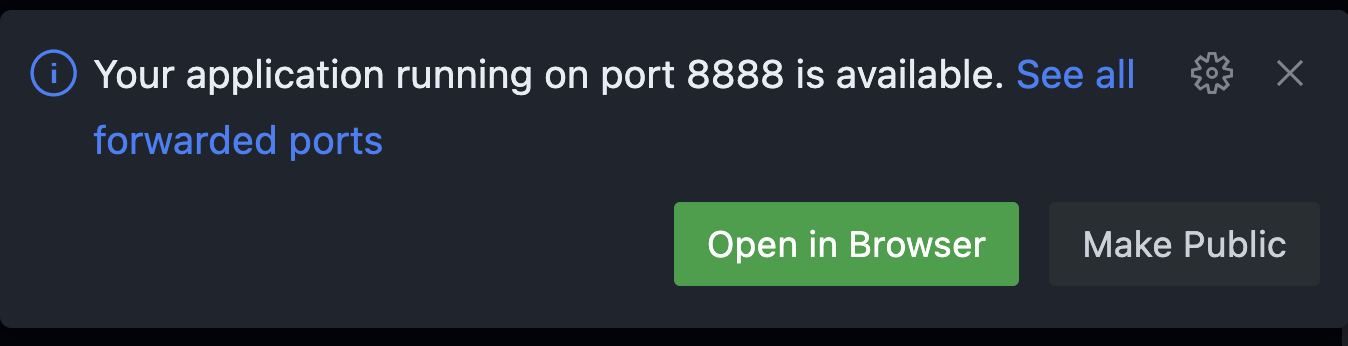
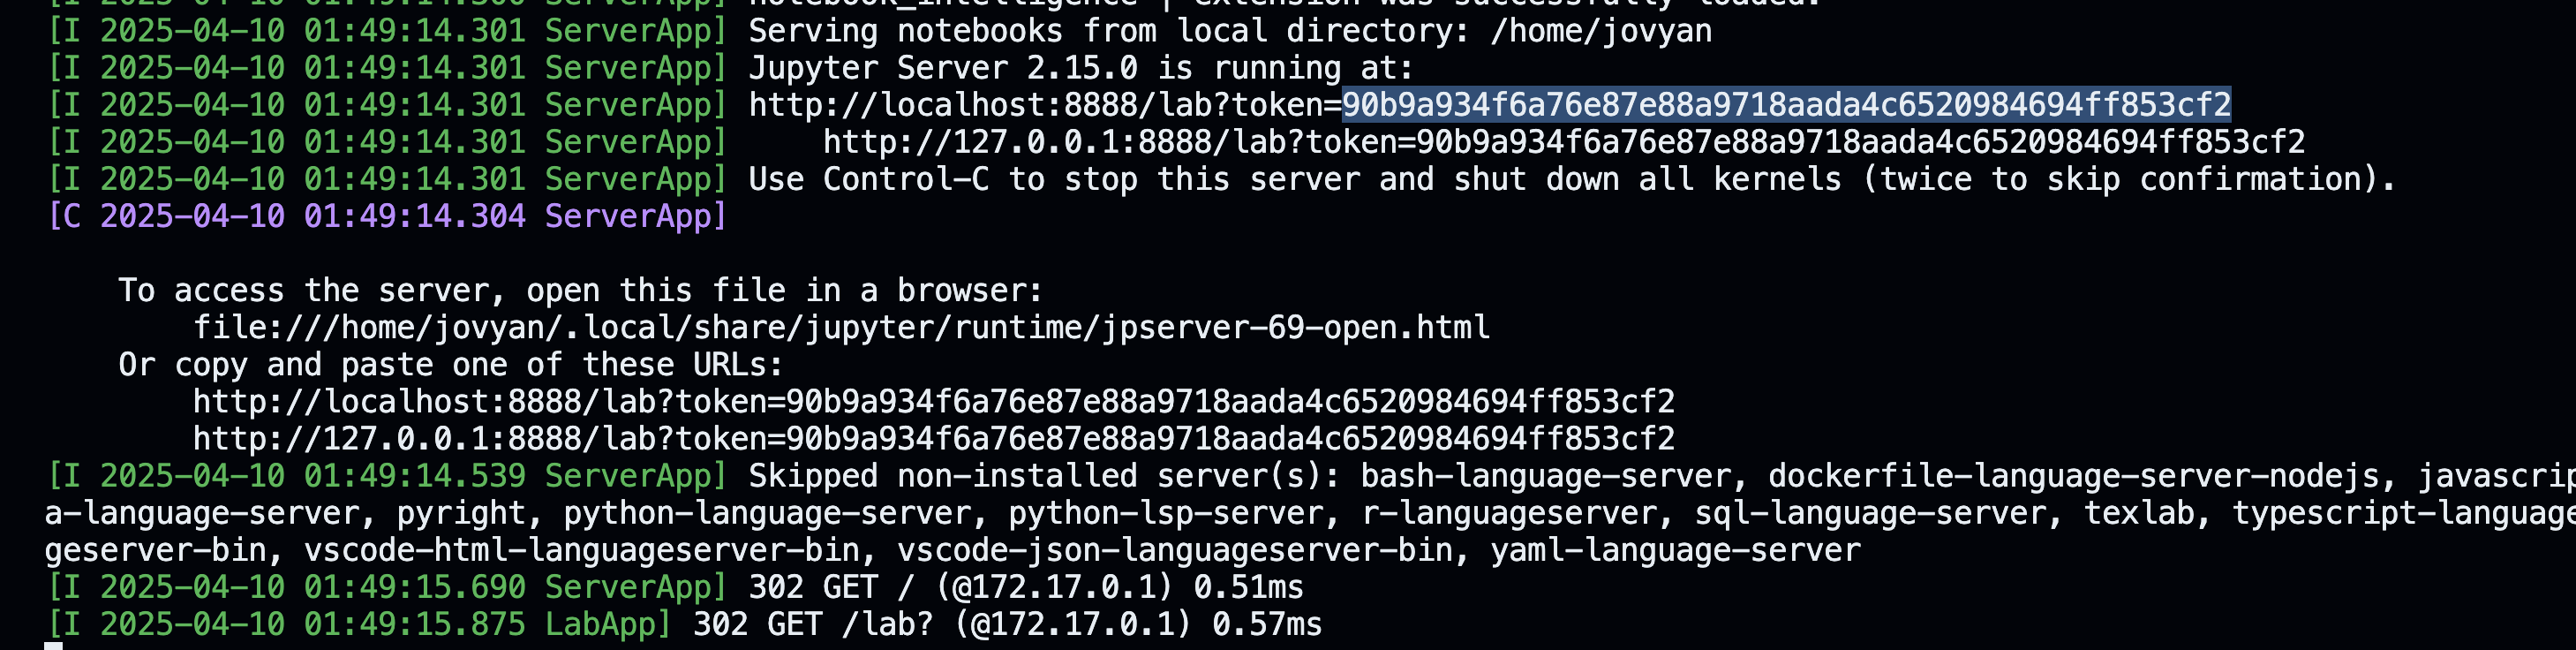
The token for authentication is displayed in the terminal:
4 - Webapps
Browser-based Neurodesk webapps
Neurodesk offers a set of browser-native webapps for protocol comparison, QSM processing, medical image segmentation and many more tasks. They run directly in the browser, so there is no desktop installation step before you can start working.
Privacy and sensitive data
Files are processed locally in the browser and are NOT uploaded to a server or cloud service. In practice, your data stays on your machine while the app is running, which makes these tools well suited to sensitive patient data workflows.
Available webapps
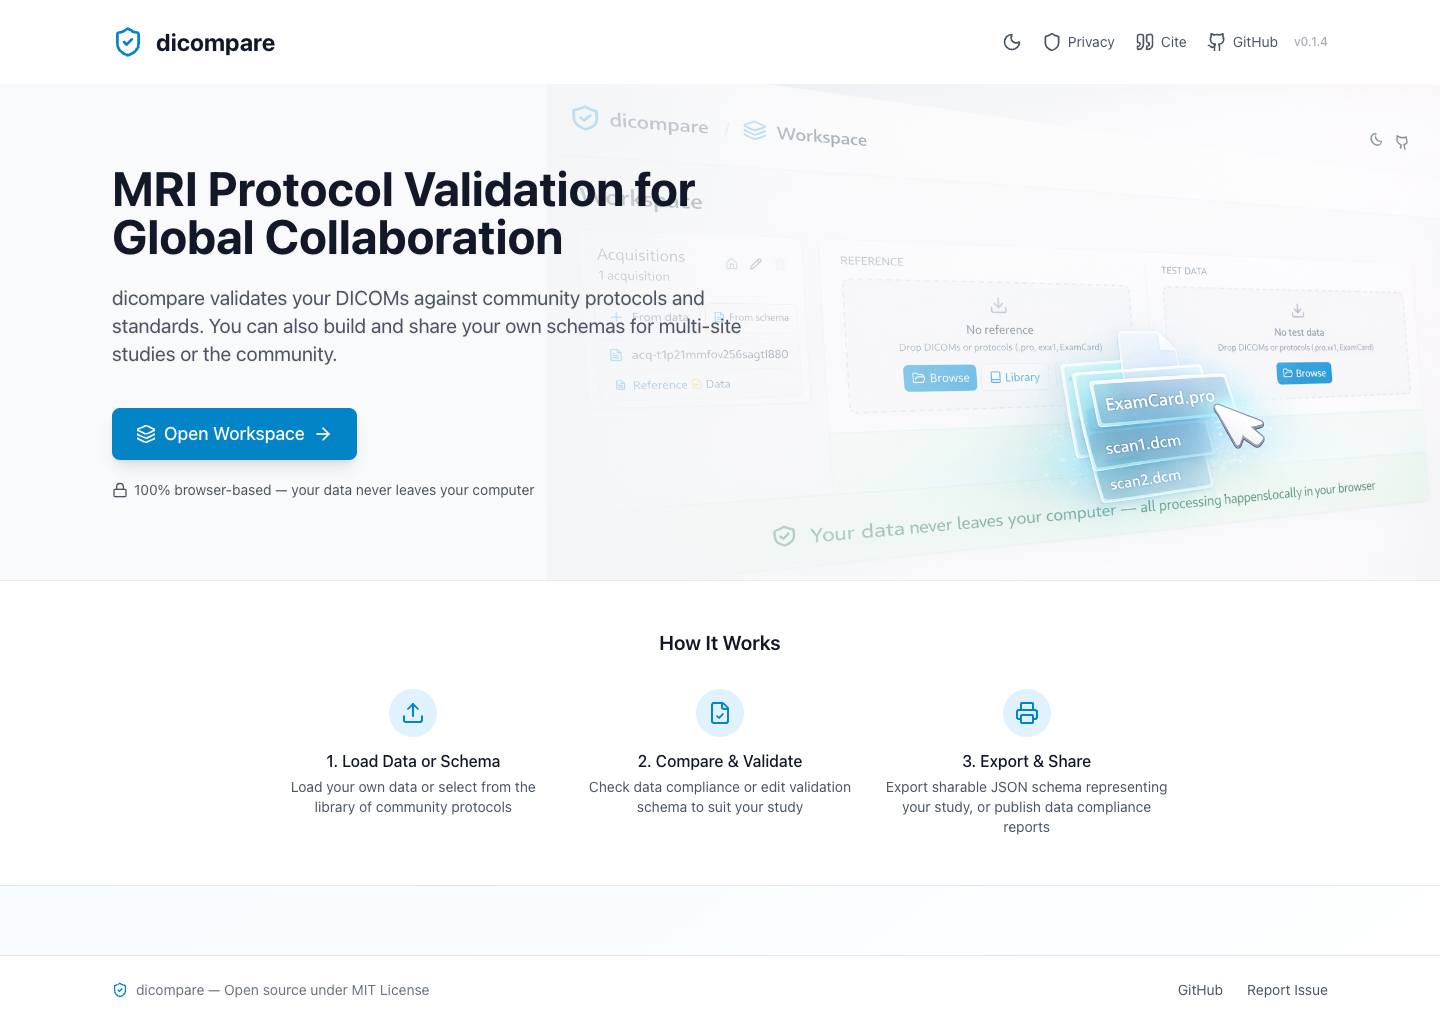
dicompare
dicompare.neurodesk.org
dicompare is a browser-based tool for sharing, comparing, and validating DICOM acquisition protocols. It is useful when teams want to standardize scanner protocols across sites, compare local scans against agreed standards, and generate shareable schemas and compliance reports.
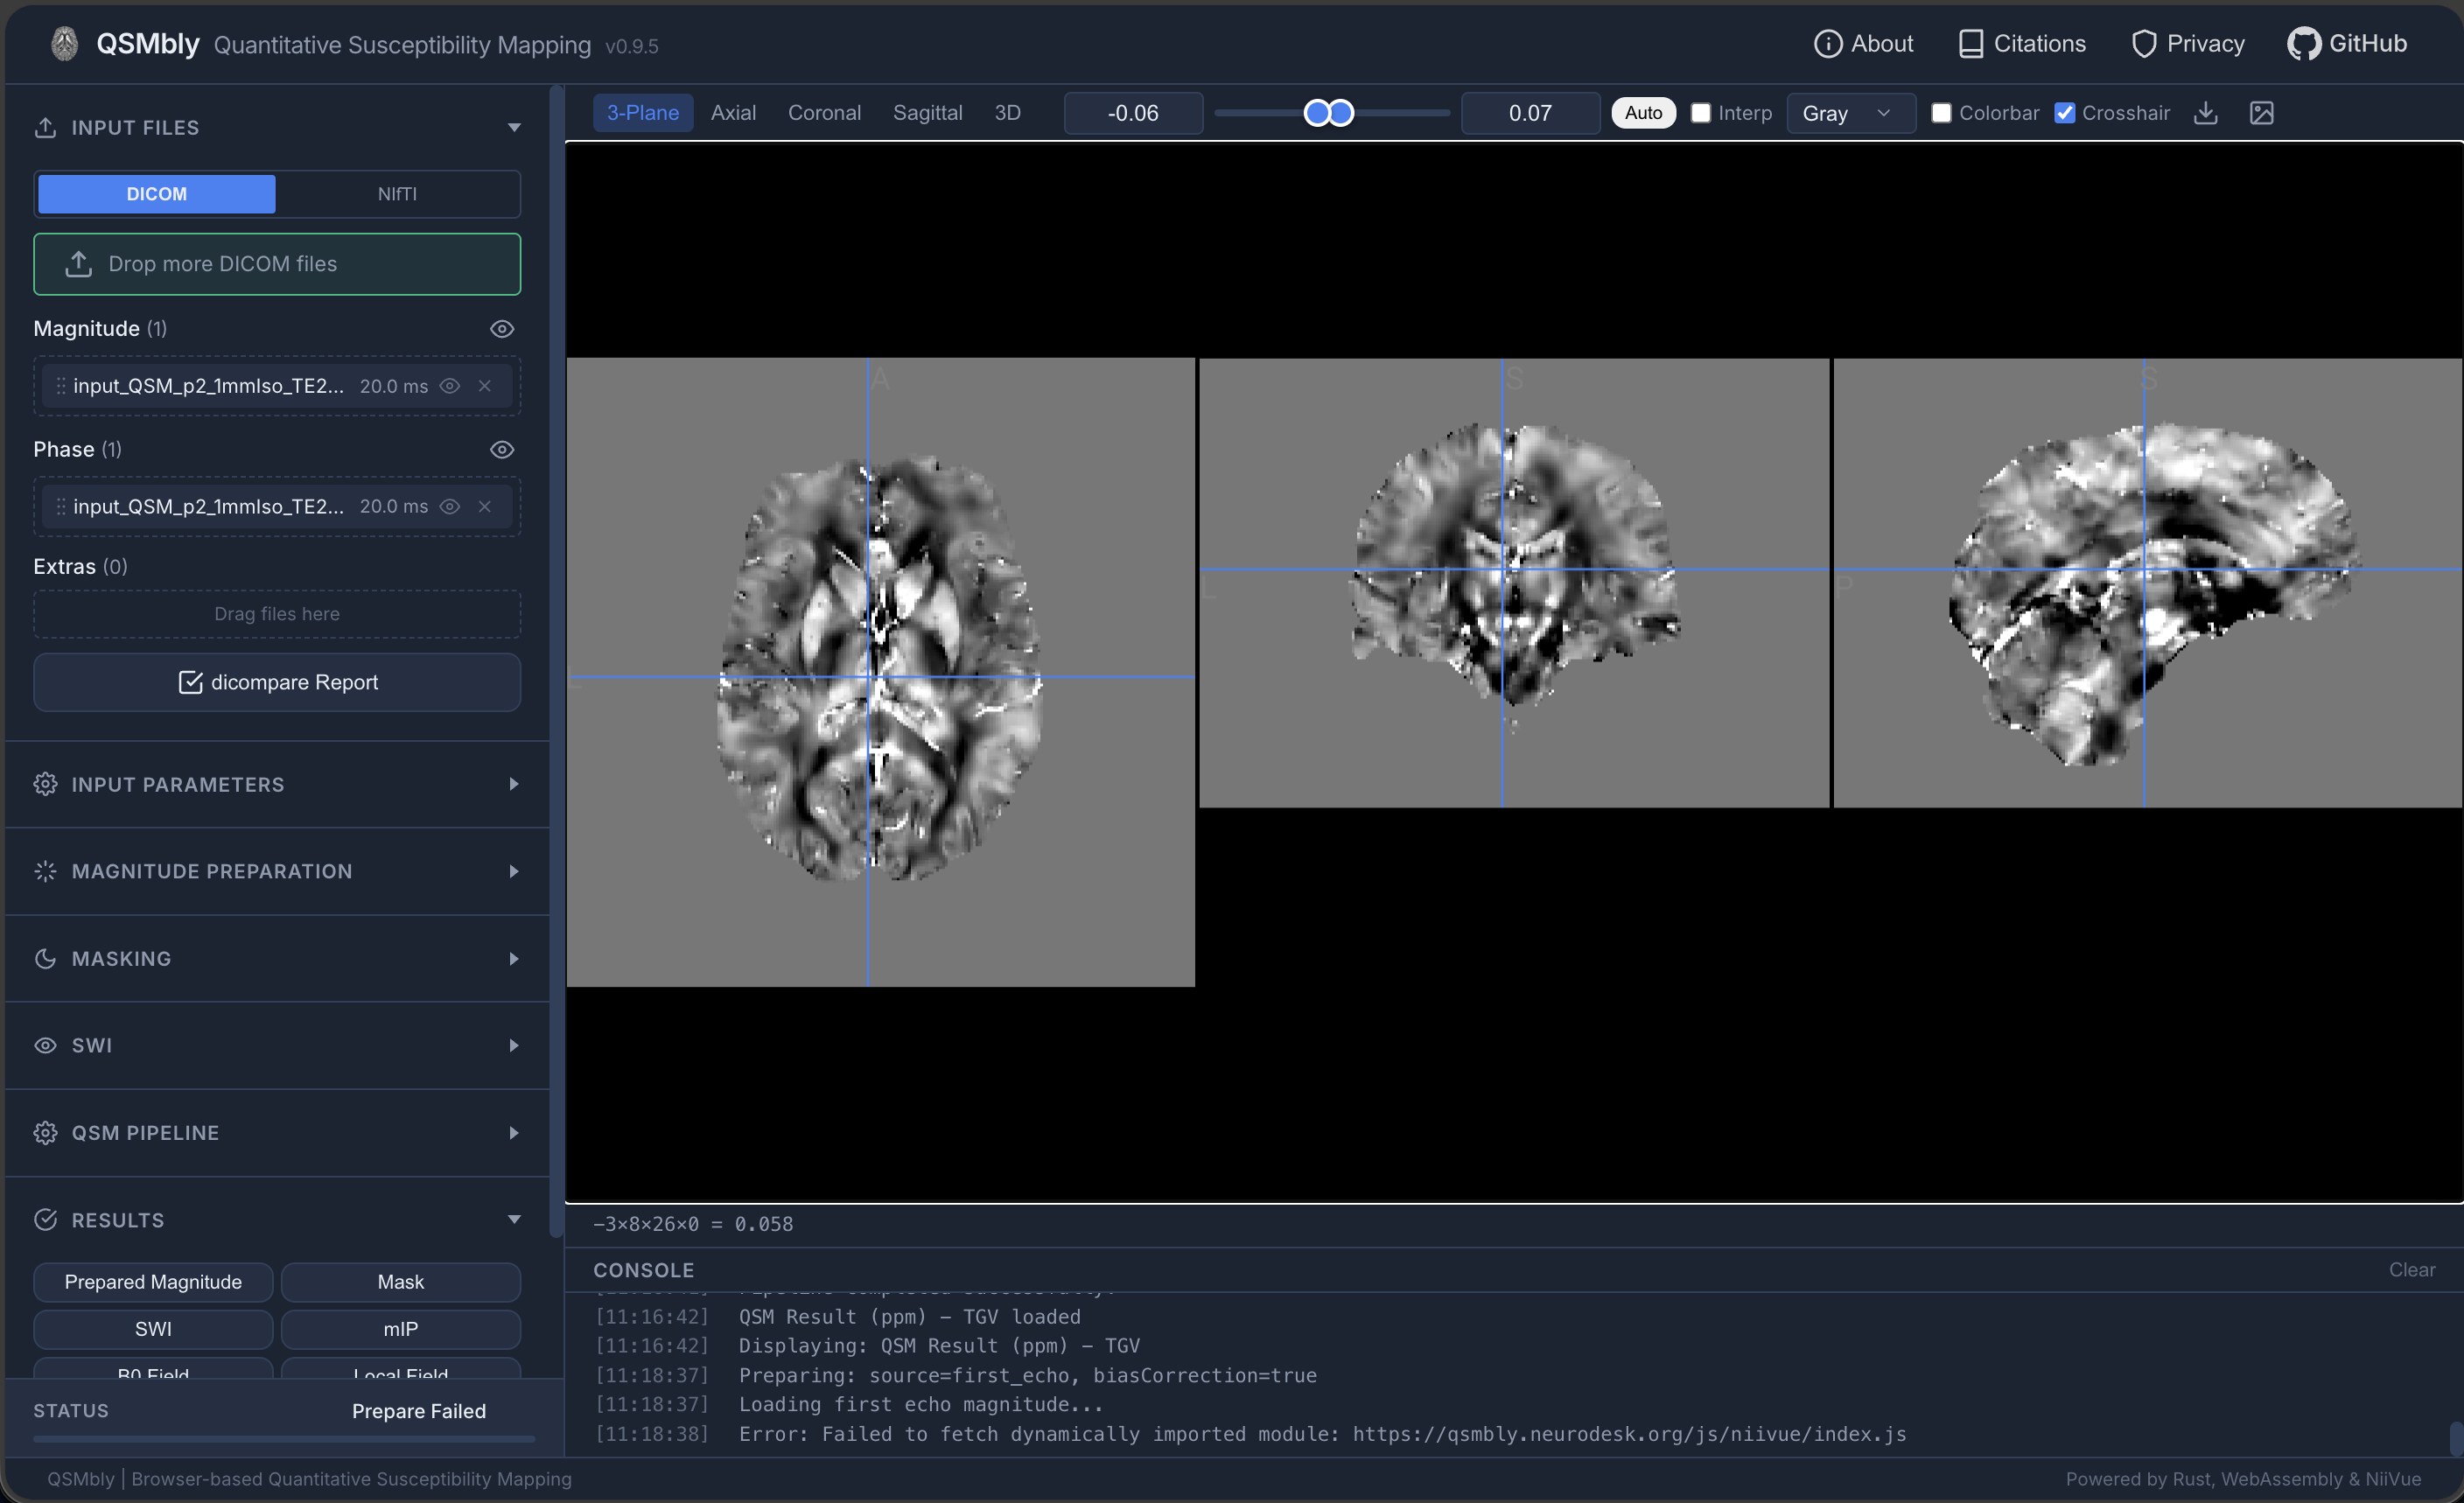
QSMbly
qsmbly.neurodesk.org
QSMbly provides a full Quantitative Susceptibility Mapping workflow in the browser. It supports DICOM and NIfTI input data and exposes the main preparation, masking, SWI, and QSM pipeline steps through a guided interface.
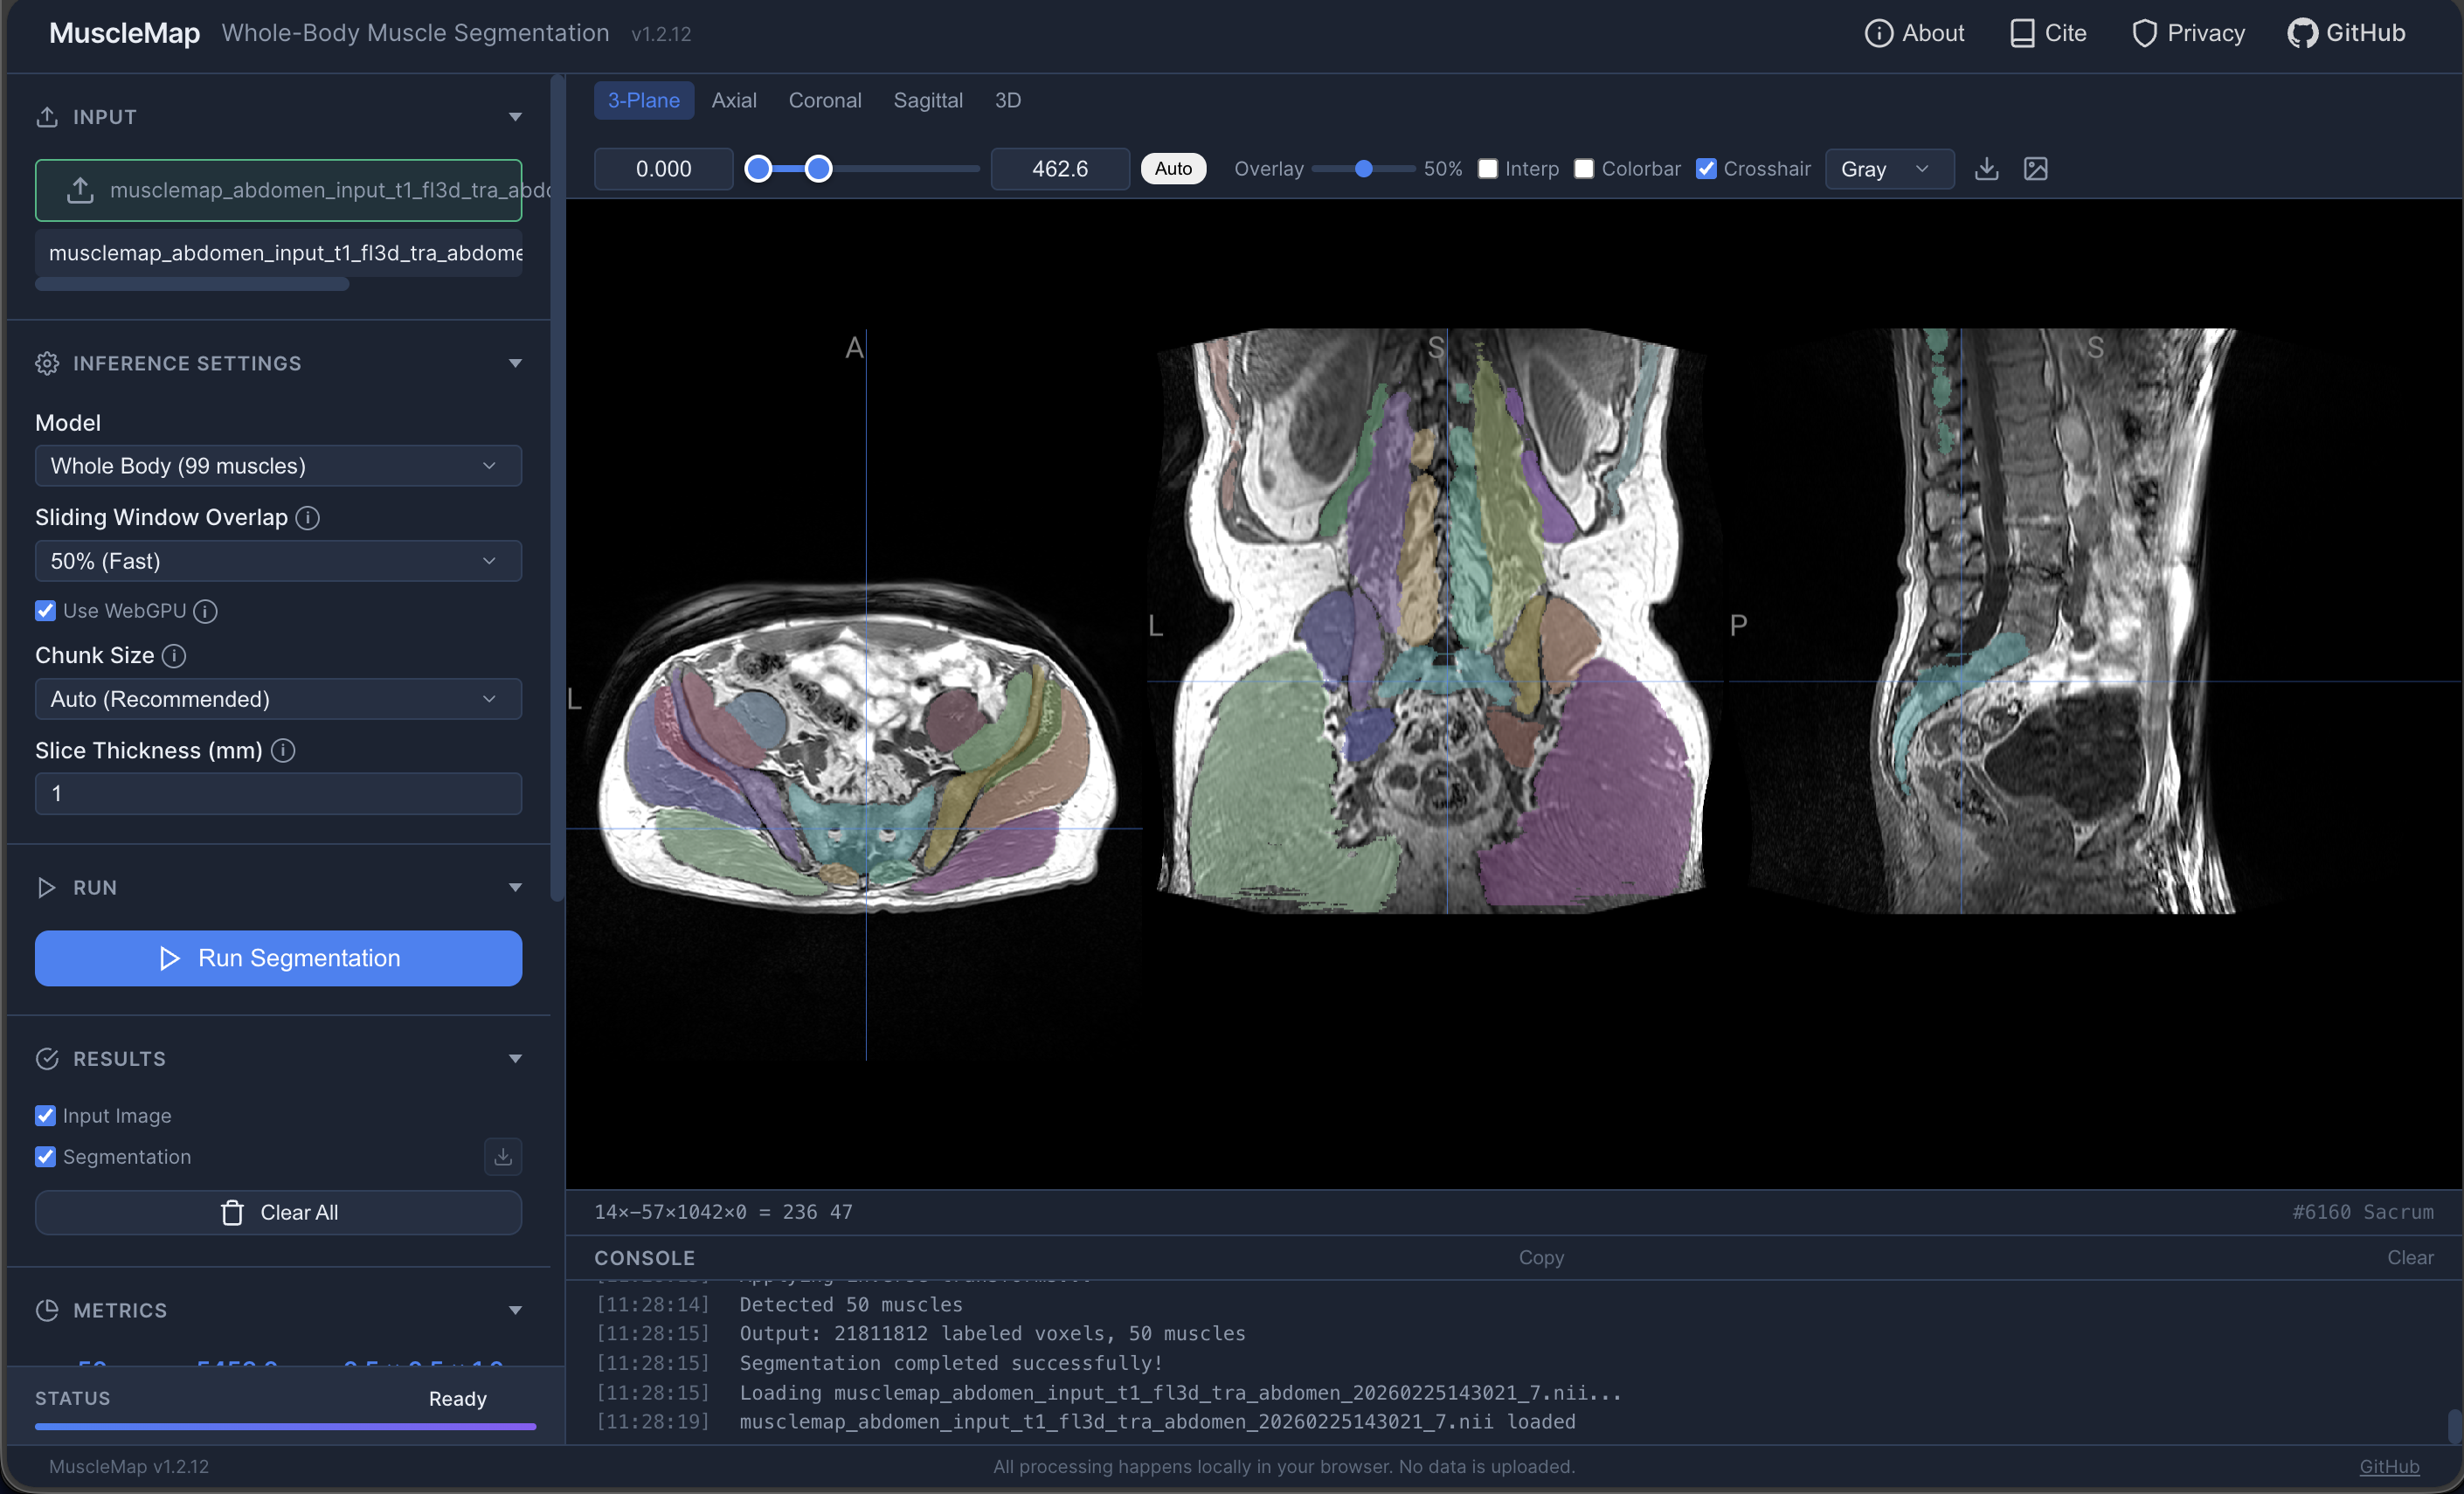
MuscleMap
musclemap.neurodesk.org
MuscleMap performs browser-based muscle segmentation from MRI data. It is designed for whole-body and regional muscle analysis and provides an interactive viewer for reviewing segmentation outputs.
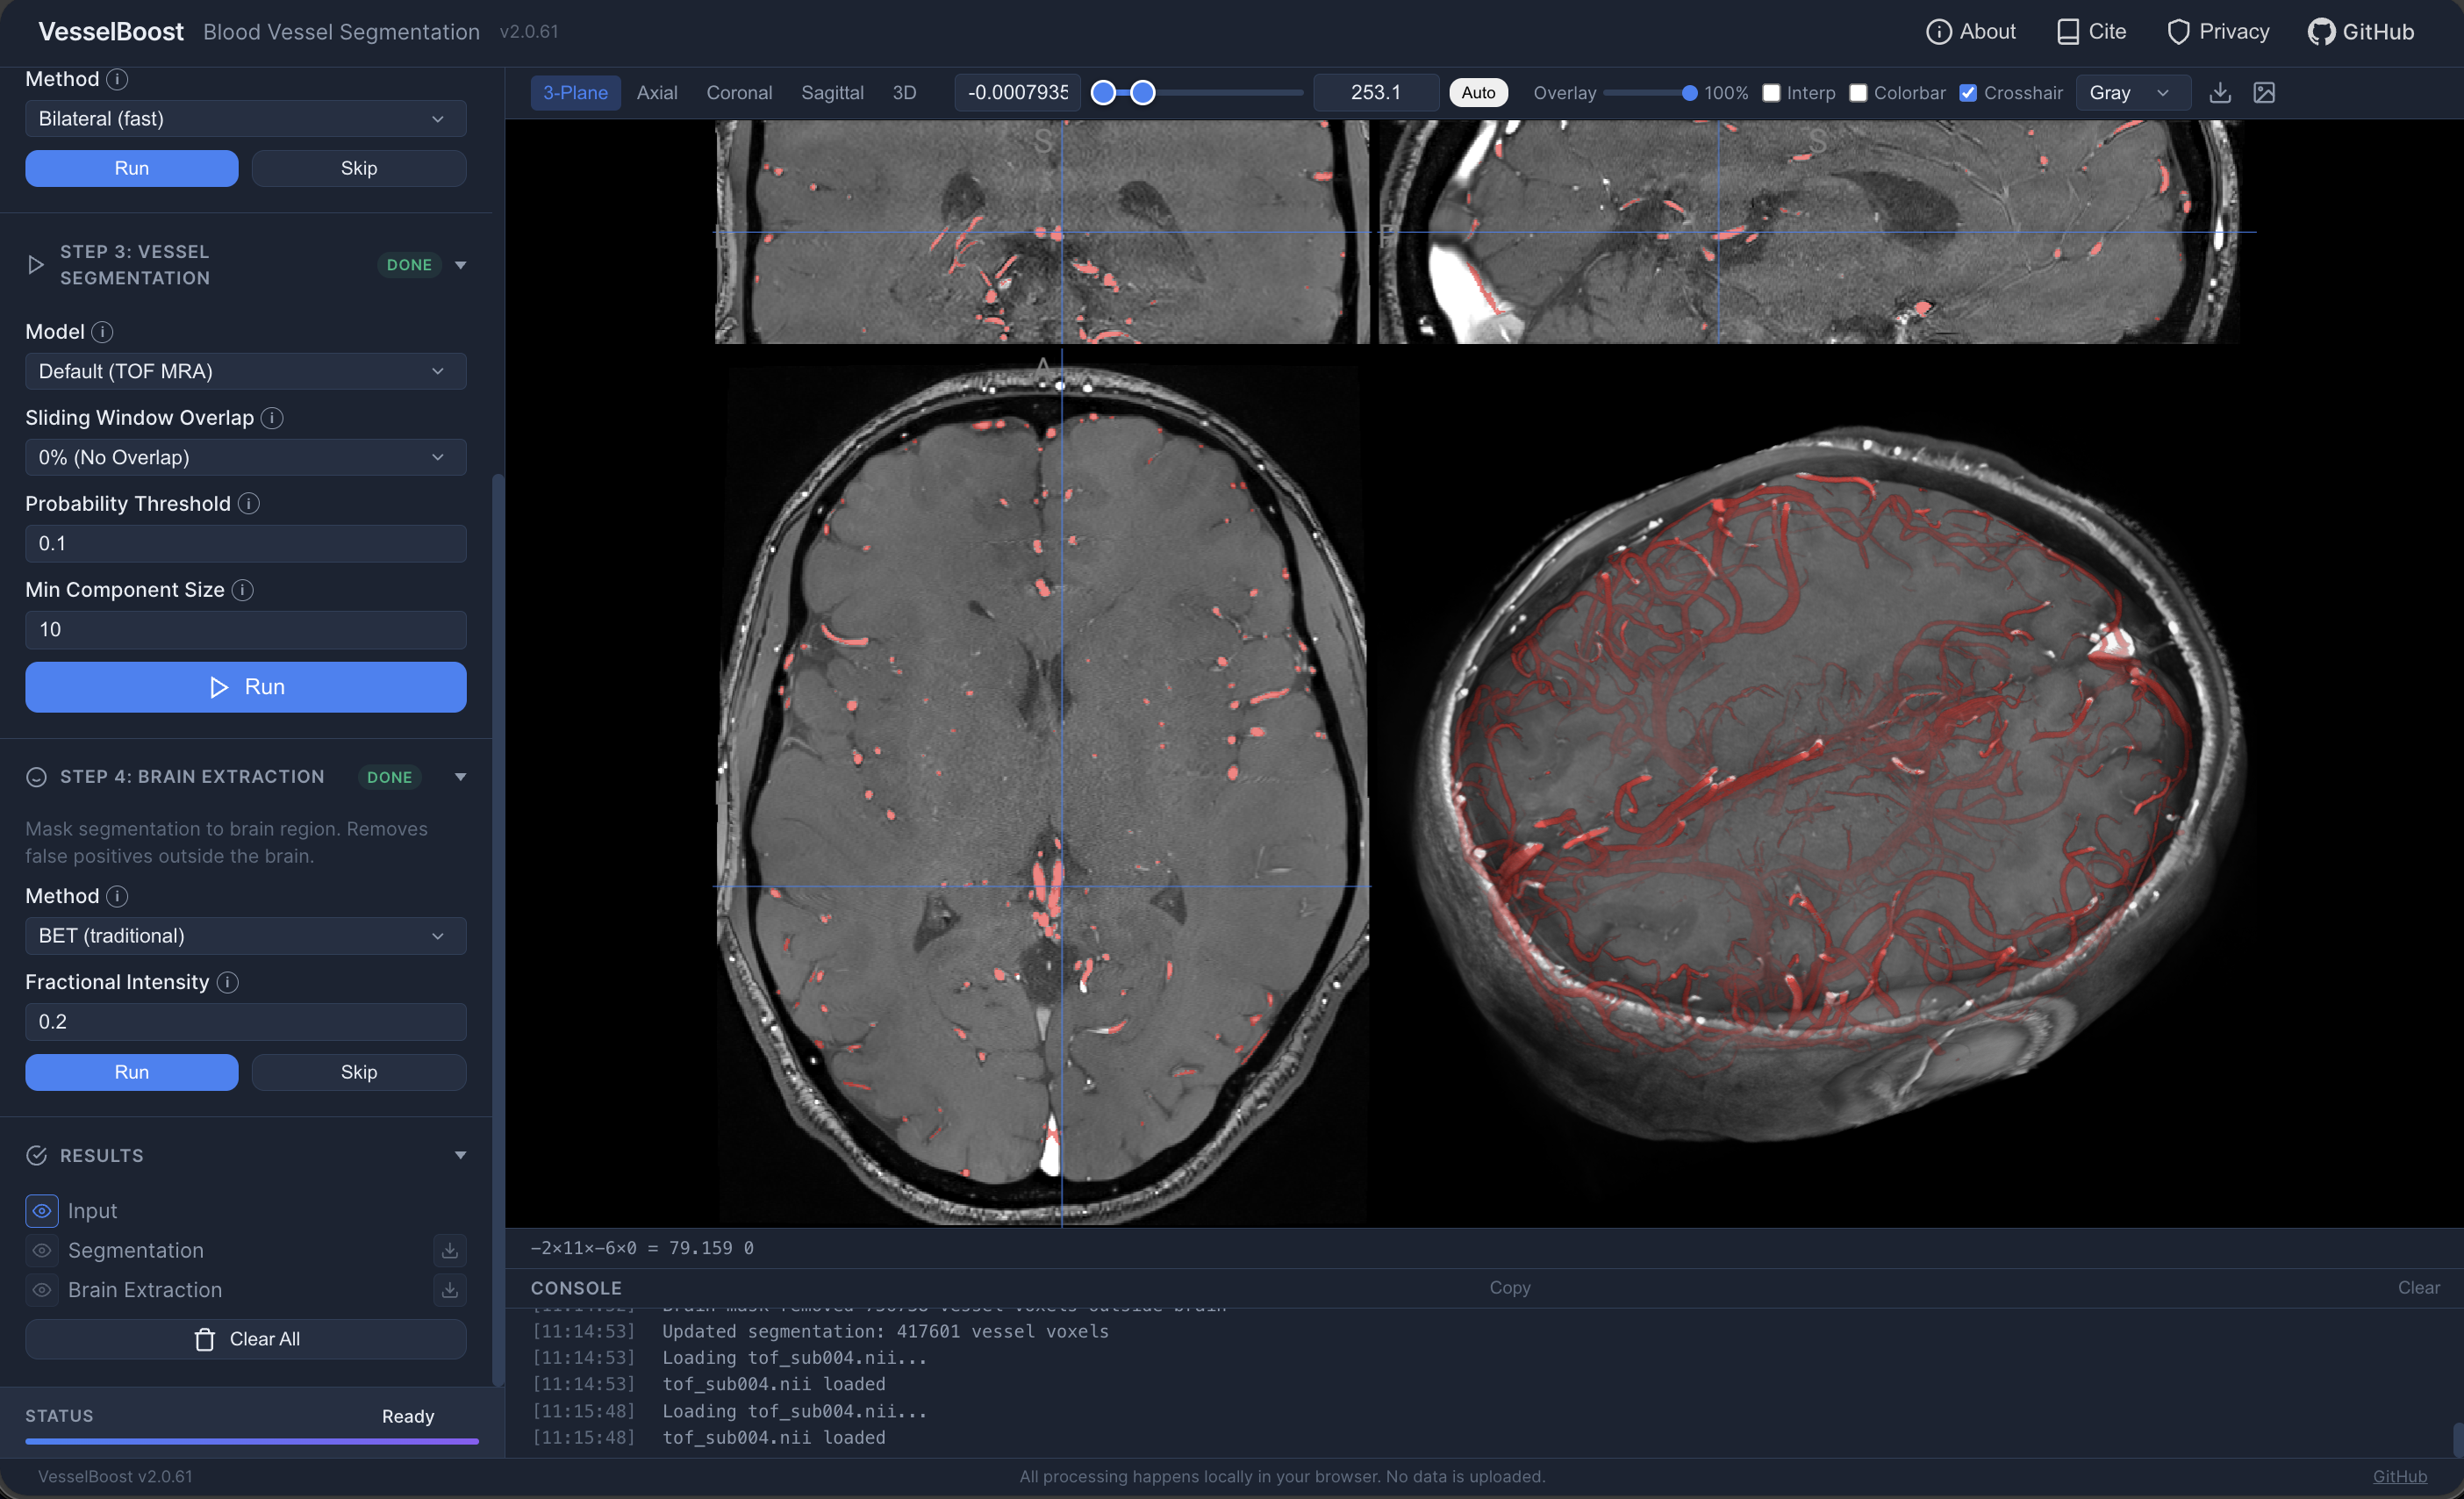
VesselBoost
vesselboost.neurodesk.org
VesselBoost is a browser-based blood vessel segmentation tool. It combines preprocessing and inference steps in a guided workflow so users can segment vessel structures from MRI angiography data directly on their own machine.